The first time we use a new kiln is always exciting. You can feel, once again, the emotion of the first times; it is possible that later on the communion will be total but there are still many secrets to discover. And yes, I am talking about ceramic kilns, although, why not say it, the sensation is similar to the beginning of other relationships. You also have to accept the inexperience of the first encounters, be ecstatic with the surprises and let your feelings and intuition take over at times.
This, if we are talking about an electric kiln, may seem like an exaggeration, and perhaps it is. If the new one is a gas kiln, there will be a need to experiment more until you get to know it. But if the kiln is a wood-fired one, and even more so if it is an untried design, the feeling of starting an adventure is mixed with nervousness: will it work? will it reach the desired temperature? will it match the temperature throughout the kiln? will it be docile or unmanageable? will it consume too much or too little?
«I think this is the beginning of a beautiful friendship»
The moment to answer these questions is usually the end of a long journey, after a lot of work and illusions. In this case, when I started thinking about building an anagama kiln, more than a year ago, I was very aware that the traditional design of this type of kiln would not be very practical for me. When building an anagama kiln you have two possibilities: either you make it big enough to get inside comfortably for loading and unloading it or, if you decide to make it smaller, you may find that loading and unloading is extremely uncomfortable.
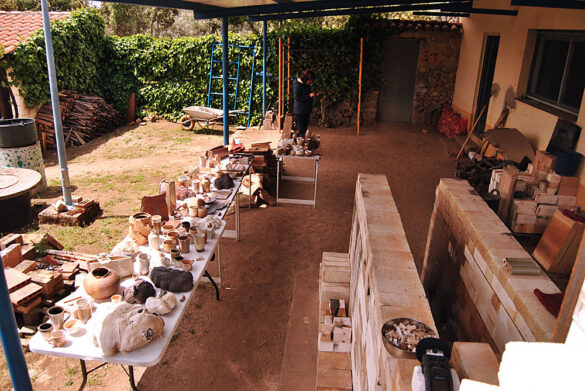
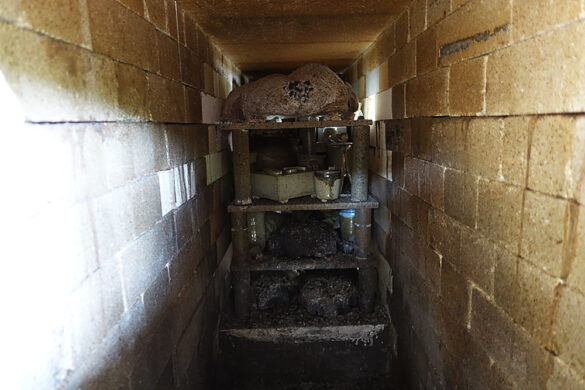
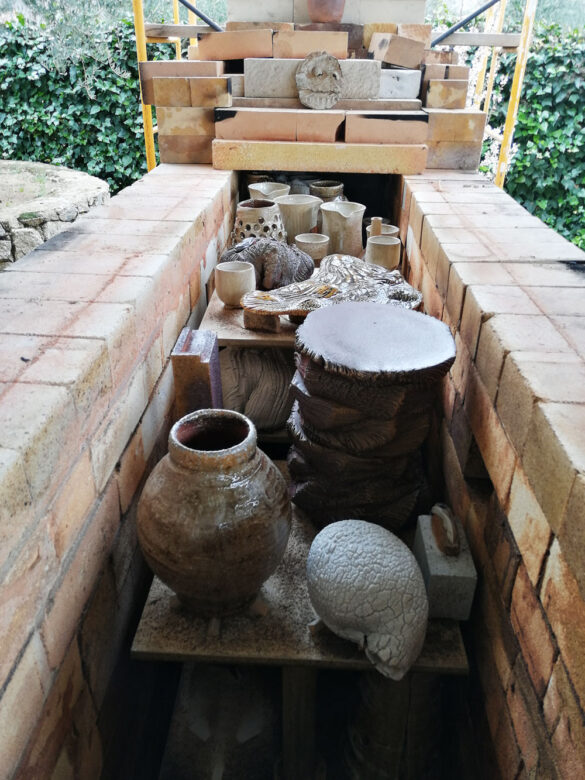
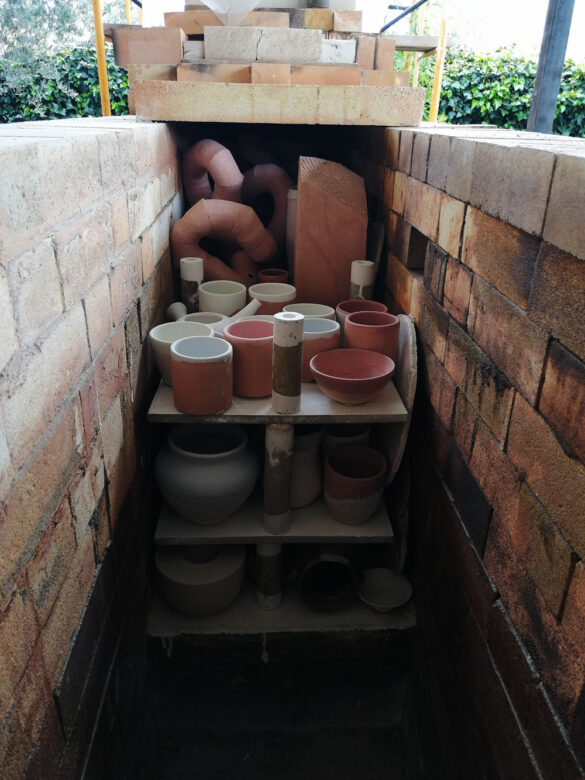
For me, a large kiln, would be impractical, so I had to try to find a smaller, more comfortable design. My solution was to make an anagama-type kiln, but very narrow and long, and to offer me the possibility of removing the upper «lid» for easier loading and unloading. There was a decisive factor in arriving at this conclusion: I already had refractory plates that would serve as a removable lid for the kiln. If I had not had them, perhaps the design would have been different. But this is another of the keys when designing kilns of this type: try to make the most of the materials you have access to, whether they are second-hand or leftovers from other kilns.
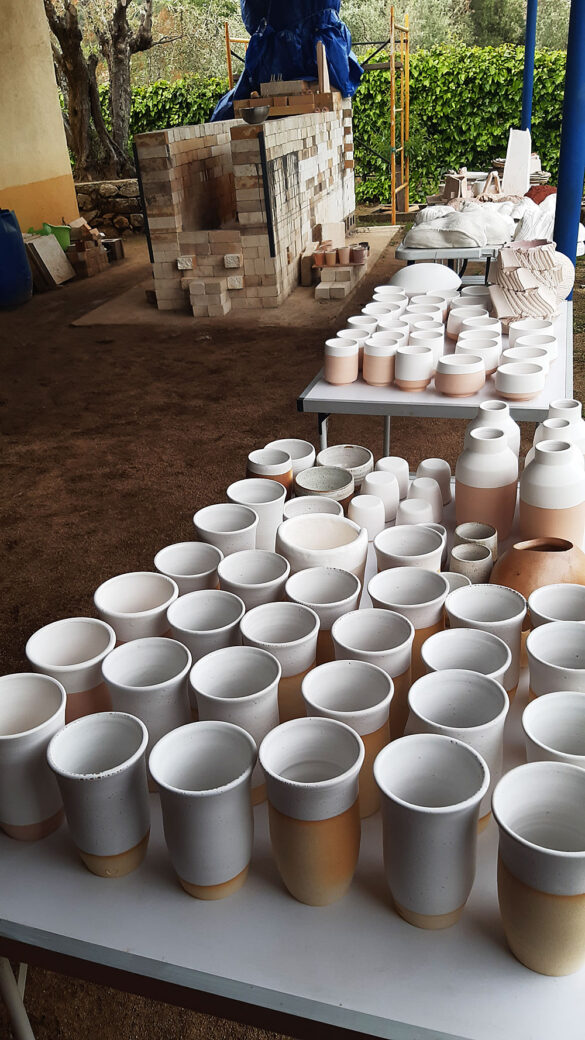
Designing a wood-fired kiln is not usually done with engineering calculations, we normally rely on experience and logic, the proportions must make sense and, if possible, the kiln must be set up in «test mode», so that if it does not work correctly you can make the necessary corrections. I still consider this kiln to be in test mode (if you look at the photo, you will see that it does not yet have an iron frame, in fact, there is not a single brick stuck with cement)
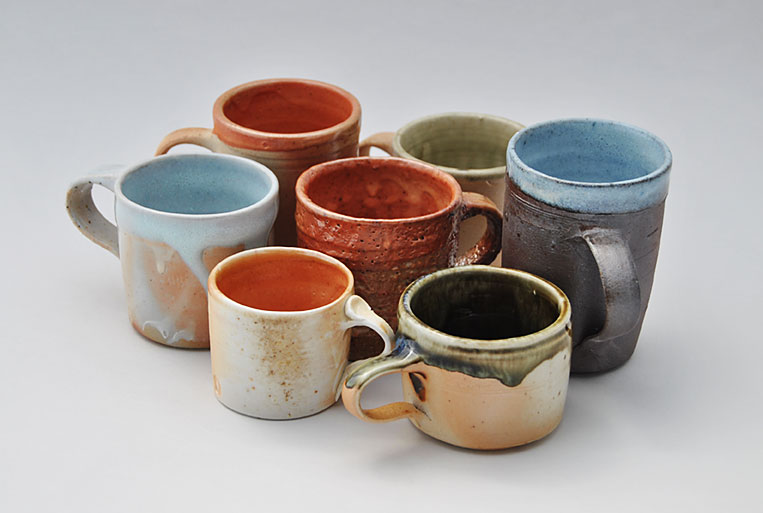
However, in the three firings we have done, the results have been better and better, there is no problem in reaching 1,300 °C and the temperature is even throughout the three-metre length of the kiln, you can also see that, due to the long, narrow shape, the ash travels smoothly from the fire box to all the corners of the kiln. There are also other more technical and undoubtedly important details: the atmosphere is easy to control, by modulating the reduction as required, it is not too smoky and, if necessary, the temperature can be maintained for hours, with a minimum expenditure of wood.
The time has therefore come to make the final version. After that there will still be a period in which to learn the secrets of the kiln. But it is certainly a great start to see that everything, or almost everything, works as it should.
It is now when you can start to think that this is the beginning of a long friendship.
Text: Wladimir Vivas. Photos: Wladimir Viva – Ícaro Maiterena – César Torres
Text translated by Ana Cano
Total or partial reproduction by any medium is prohibited unless expressly authorised in writing.
